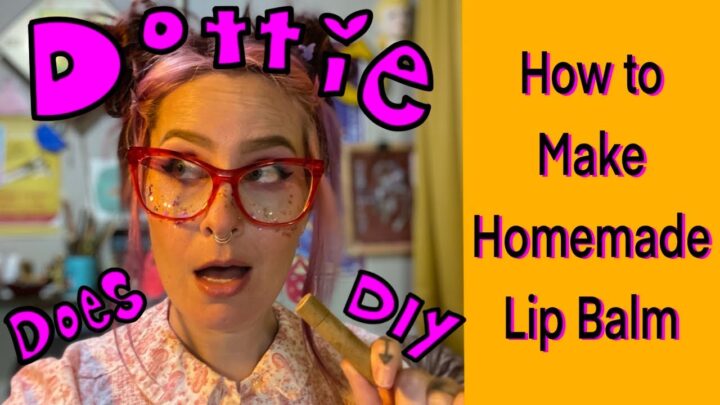
How to Make Lip Balm at Home
Have you ever wanted to learn how to make lip balm at home? It’s easier than you might have thought.
Homemade lip balm makes a great gift, a fun project, and an easy way to start introducing all-natural products into your home (if you’re into that kind of thing, look I’m not here to push I’m just here to craft).
I was surprised at just how easy it was. One batch makes a ton of lip balm too so this is a great project to do with kids or friends, and a perfect holiday project as it yields a bountiful spread of delightful lip stuff for all the ghouls on your list.
Wanna skip to the good part? Watch the Youtube video here.
Stuff You Will Need
The best part of homemade lip balm (and really all homemade goodies) is you get to decide what goes into them! I bought everything I needed off of Amazon, which was a little pricy, but I have tons leftover to make future projects such as body butter, lotion bars, etc.
Equipment:
- Saucepan and pyrex or other heat resistant bowl or double boiler
- Silicone spatula
- Liquid measuring cup with a spout or funnel
Supplies
- Beeswax (Beauty/Cosmetic grade)
- Cocoa Butter and/or Shea Butter (Beauty/Cosmetic grade)
- Coconut Oil (Beauty/Cosmetic grade)
- Lip balm tubes or other containers
- Optional: Peppermint extract or other food grade flavoring of your choice
Putting it all Together
Now for the fun part! You’ve gathered all your supplies and you’re ready to make some lip balm, let’s get to it!
Step 1: Prepare your double boiler by filling the saucepan with water and bringing it to a boil with your heat safe bowl on top.
While it’s heating up, you can prepare your ingredients.
Note: this process goes by super quick so have all or your supplies, flavors, and containers ready to go.
Step 2: You can measure your supplies directly into the bowl starting with the beeswax since it takes the longest to melt.
Add to your double boiler the following:
- 1 Tbsp Beeswax
- 1 Tbsp Coconut Oil
- 1 Tbsp Shea Butter or Cocoa Butter (or half and half if you like)
- Optional: 10-15 drops (or up to ¼ tsp) of any flavor extracts of your choice
Note: A little goes a long way, this recipe filled 6 tubes worth! You can add or subtract from it as you would like keeping in mind the 1:1:1 ratio. Keep in mind the beeswax is what holds it all together so if you live in a hotter climate you may want to add a little more wax to keep it together.
Step 3: Stir and Pour
Mix all of your ingredients together, stirring slowly until they are all melted into one magical golden liquid.
Prepare your lip balm tubes or other vessels.
Turn off the heat and pour your mixture into a measuring cup. Use a funnel to carefully fill each tube. Make sure to be careful as the liquid is hot! Also be careful because these tubes fill up wicked fast!
Once all of your containers are full, set them aside to cool.
Wrapping it all Up
After the lip balm has cooled completely, cover them with the lids provided, pick the most messed up one, and enjoy! That one is for you!
Adding some final detail can be fun, but it’s totally up to you. I like to use office labels to make cute customized stickers for each tube. You can also find labels that will work with your printer for a professional look if you’re into that sort of thing!
If you’re giving these away as gifts, consider listing your ingredients on the side of the label as well. This makes you look fancy and also gives a heads up to any family or friends that might have a spooky allergy you weren’t aware of.
That’s it!
See, I told you that was easy! Cleaning the bowl on the other hand…
I absolutely loved this project. It was fun, easy, and I got to share it with my friend and who doesn’t love that?
I would love to know if you’ve tried this project. Tag me in pictures please! My IG is @DottieVisionDIY and I would absolutely love to hear from you!
If you have any questions, comments, or ideas you’d like me to try I would LOVE to hear them! Please feel free to leave them down below and I’ll be sure to get right back to you.
Until next time, happy crafting, and if you haven’t heard it lately, hello lovely, I love ya!

