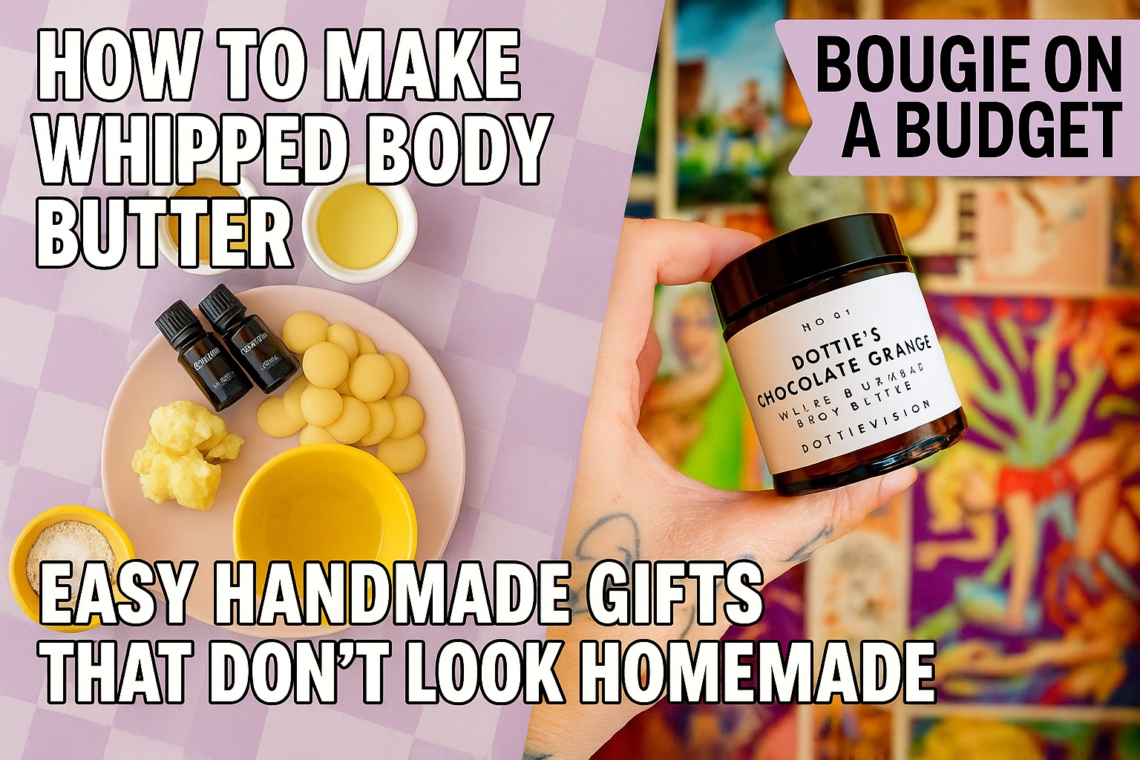
How to Make Homemade Whipped Body Butter That Looks Store-Bought
If you’re anything like me, you love giving people handmade gifts. If your people are anything like my people, sometimes they would prefer something a little more off the rack. I decided to take this as a challenge: how can I make handmade gifts that don’t scream “this is obviously homemade”?
That question is what inspired my Bougie on a Budget series, where I share ways to make gloriously fancy gifts that look boutique-bought, using our very crafty little hands.
For my first trick: homemade whipped body butter. It’s easy to make, beginner-friendly, and feels absolutely luxurious. I started making this for myself and loved it so much that it quickly became a go-to gift for friends and family.
Why Whipped Body Butter is a Gorgeous Handmade Gift
Whipped body butter is one of those crafts that looks way more impressive than it actually is. It feels rich and indulgent, leaves skin super soft, and is especially great for dry winter skin. It’s even helped me with my eczema and KP, which makes me want to gift it to basically everyone.
It’s also completely customizable, affordable on a per-jar basis, relatively shelf-stable, and works for just about anyone on your list. In short, it’s a simple craft with a high-end feel. Perfect year-round, but especially lovely around the holidays like Christmas and Valentine’s Day. Hello, ideal stocking stuffer.
Check out the full tutorial on YouTube, or read it for yourself below!
Prefer to Watch? Check Out the Video On YouTube
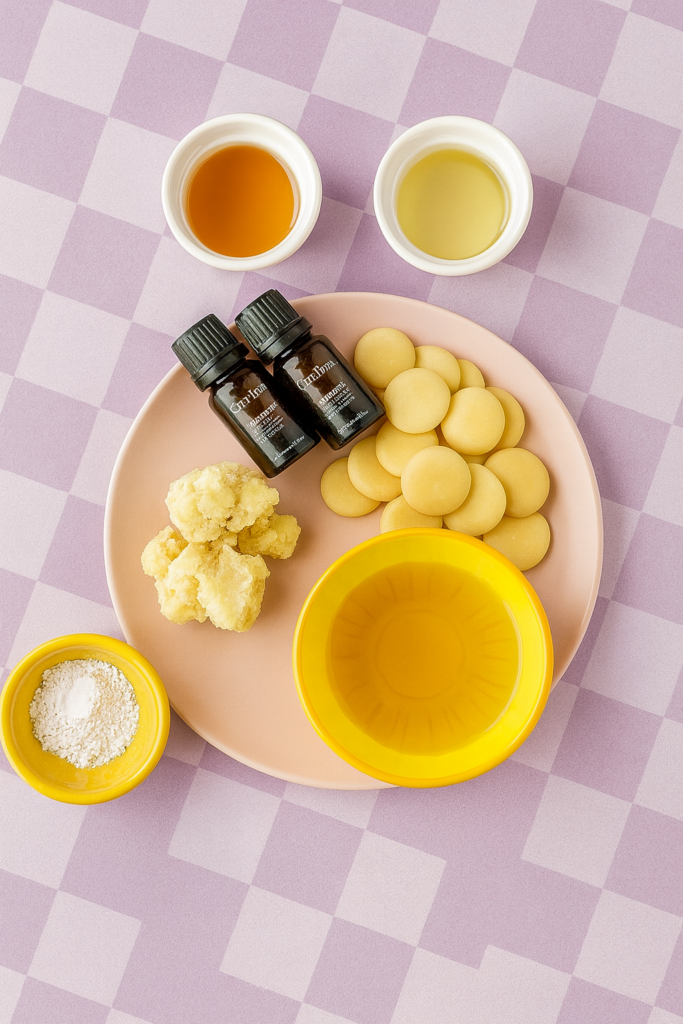
Here’s What You’ll Need
Supplies
- Shea Butter
- Cocoa Butter
- Carrier Oil (sweet almond or Jojoba work well)
- Vitamin E Oil (Optional)
- Rosehip Oil (Optional)
- Skin-Safe Essential Oil (Optional)
- Arrowroot Powder (Optional)
Equipment
- Mixing Bowl
- Hand Mixer or Stand Mixer
- Piping Bag and Star Tip (Optional but makes a big impact)
- Jars or Tins
- Printable Labels (Optional)
How to Make Whipped Body Butter
This process is very forgiving, so feel free to experiment once you’ve tried it once.
You can swap butters, adjust oils, or tweak the recipe to suit your preferences.
Step 1: Melt the Butters
Melt equal parts shea and cocoa butter in a double boiler, stirring as you go. I use ¼ cup of each, which yields about two 4-ounce jars.
You can also melt them in a microwave-safe bowl, heating in 10 to 20 second intervals and stirring between each round.
Once melted, remove from heat and stir in:
- ¼ cup carrier oil
- ½ teaspoon Vitamin E oil (optional)
- ½ teaspoon rosehip oil (optional)
Leave out essential oils and arrowroot powder for now.
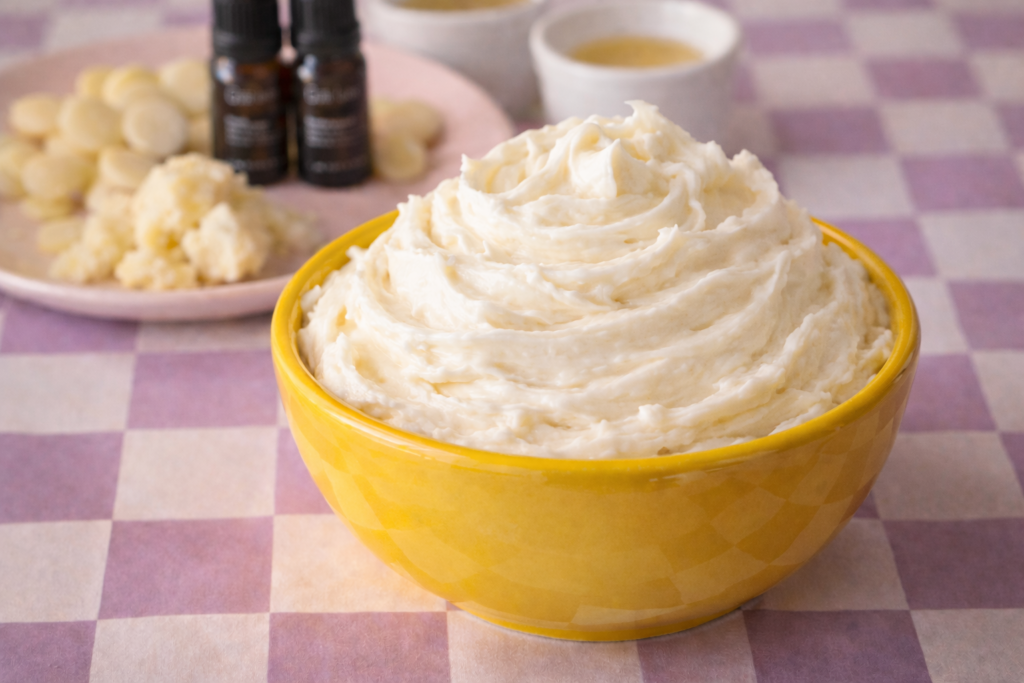
Step 2: Cool and Whip
Let the mixture cool in the fridge until it’s almost solid but still soft enough to whip. This usually takes about 30 minutes, though sometimes longer if you forget about it, which I often do.
Once firm but scoopable, whip until fluffy. At this stage you can:
- Add 1 tablespoon arrowroot powder for a less greasy feel
- Whip again to incorporate
- Add up to 20 drops of essential oil and mix lightly
If you want multiple scents, split the batch before adding fragrance.
A quick note: rosehip oil does not smell like roses, so you get all the skin benefits without a floral scent.
Perfect Packaging
Packaging is what takes this from “nice homemade gift” to “are you sure you didn’t buy this?” territory.
Pipe the body butter into clean jars using circular motions. Wipe the rims, tighten lids, and clean off any buttery fingerprints.
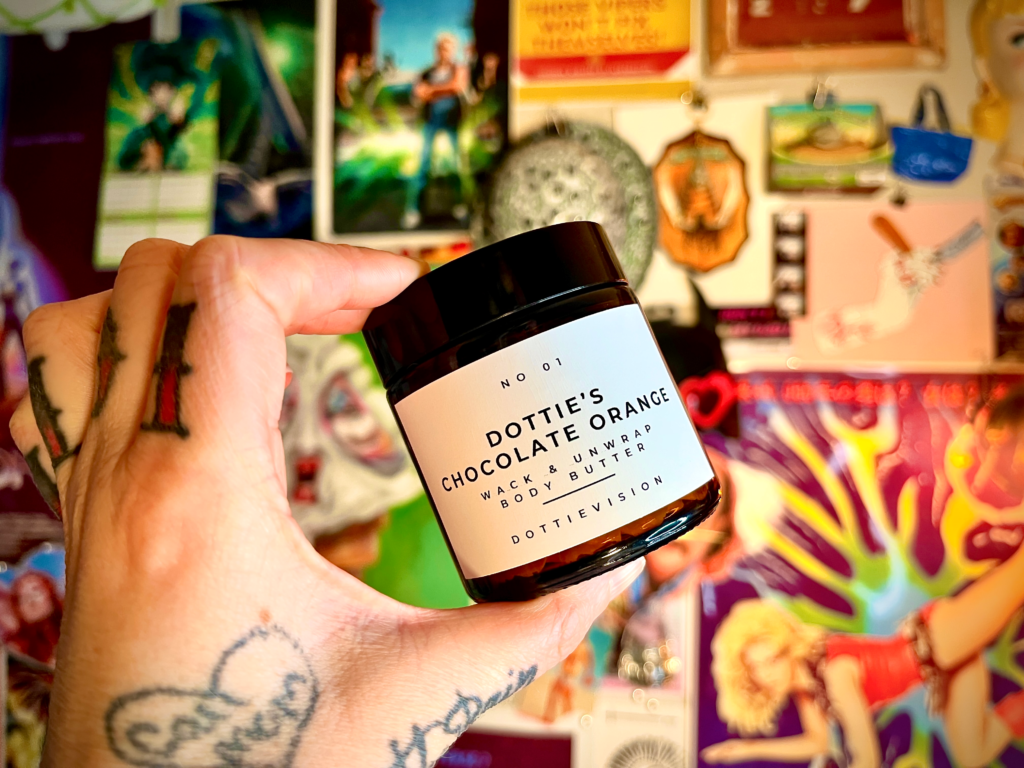
For labels, Canva is your best friend. A simple design with a cute title and ingredient list goes a long way. Print a test sheet first to check sizing, then print onto label paper, cut, and apply.
Customization Station
One of the best parts of making body butter at home is how customizable it is. Try seasonal scents, keep it unscented for sensitive skin, or build themed gift sets with candles, bath items, or other handmade pieces. You can theme by color, scent, or vibe, depending on who you’re gifting to.
Fancy Gifts and Whipped Body Butter for Days
This is one of my most repeated crafts, both for gifting and personal use. It’s also a great way to reuse jars you already have on hand. Remember, bougie does not mean perfect. Crafting is supposed to be fun.
If you’re planning to gift this, I recommend making a batch for yourself first. It’s great practice and a lovely self-care moment. As always, patch test before using, since everyone’s skin is different.
What should we make next? I’ve got more bougie-on-a-budget ideas coming, and I’d love to hear what you want to see. You can find me at @dottievision or send me an old-fashioned email.
Have fun, and remember, I love you and I think you’re great.